Webhooks: Creating Webhooks
User requirements
Section titled “User requirements”To create and configure webhooks, a user in Caspeco is needed. This user should have the Manage Webhooks permission to create, view and edit the webhook configurations. For the user to successfully initialize the employees via webhooks, the user must have permission to fetch all the employees in the system. An example of such a permission is Salary administrator.
Setting up your Webhooks
Section titled “Setting up your Webhooks”To set up a webhook, go to System settings > Integrations in the sidebar navigation menu and press the Webhooks tab.
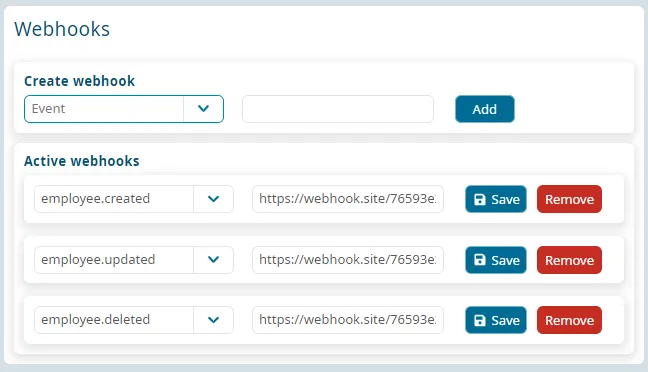
From there, select an event to subscribe to in the drop-down menu and enter your endpoint URL in the right field. This is the URL your payload is sent to. Click on the Add button to create the new webhook.
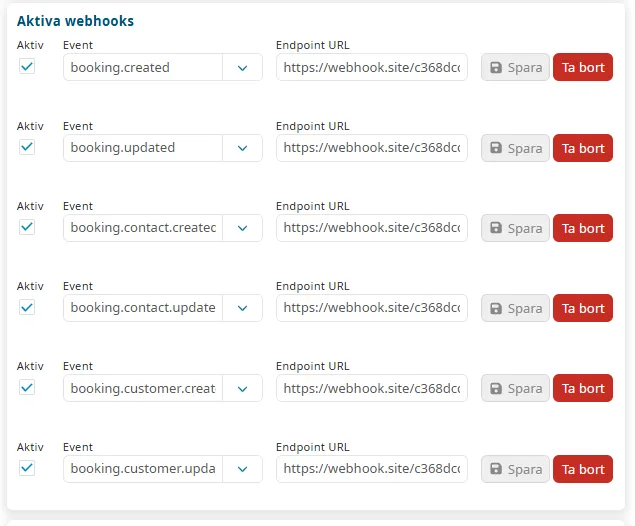
On the same page, all active webhooks for your system are listed. You may change the event type or endpoint URL by editing the corresponding fields and pressing Save. To delete an active webhook, press Remove.
There are webhooks for employee and booking related changes.
Securing Your Webhooks (Recommended)
Section titled “Securing Your Webhooks (Recommended)”If you wish to secure your webhooks, head to this article,
Events
Section titled “Events”When an event is triggered, you will receive a JSON payload containing the event, the system for which the event was triggered, and any additional content. Please look at the example payloads for payload structure and content for different event triggers.
| Event | Triggered by |
|---|---|
| employee.created | Approving an employee |
| employee.updated | Updating any of the following:
|
| employment.ended |
|
| employee.deleted | Deleting an employee |
| employee.enabled | An employee is set to hidden/visible |